How to Add a Status Page on KloudFox
This guide will walk you through the steps to add a status page in Kloudfox and configure it with your custom domain. Follow these detailed instructions to set up your status page effectively.
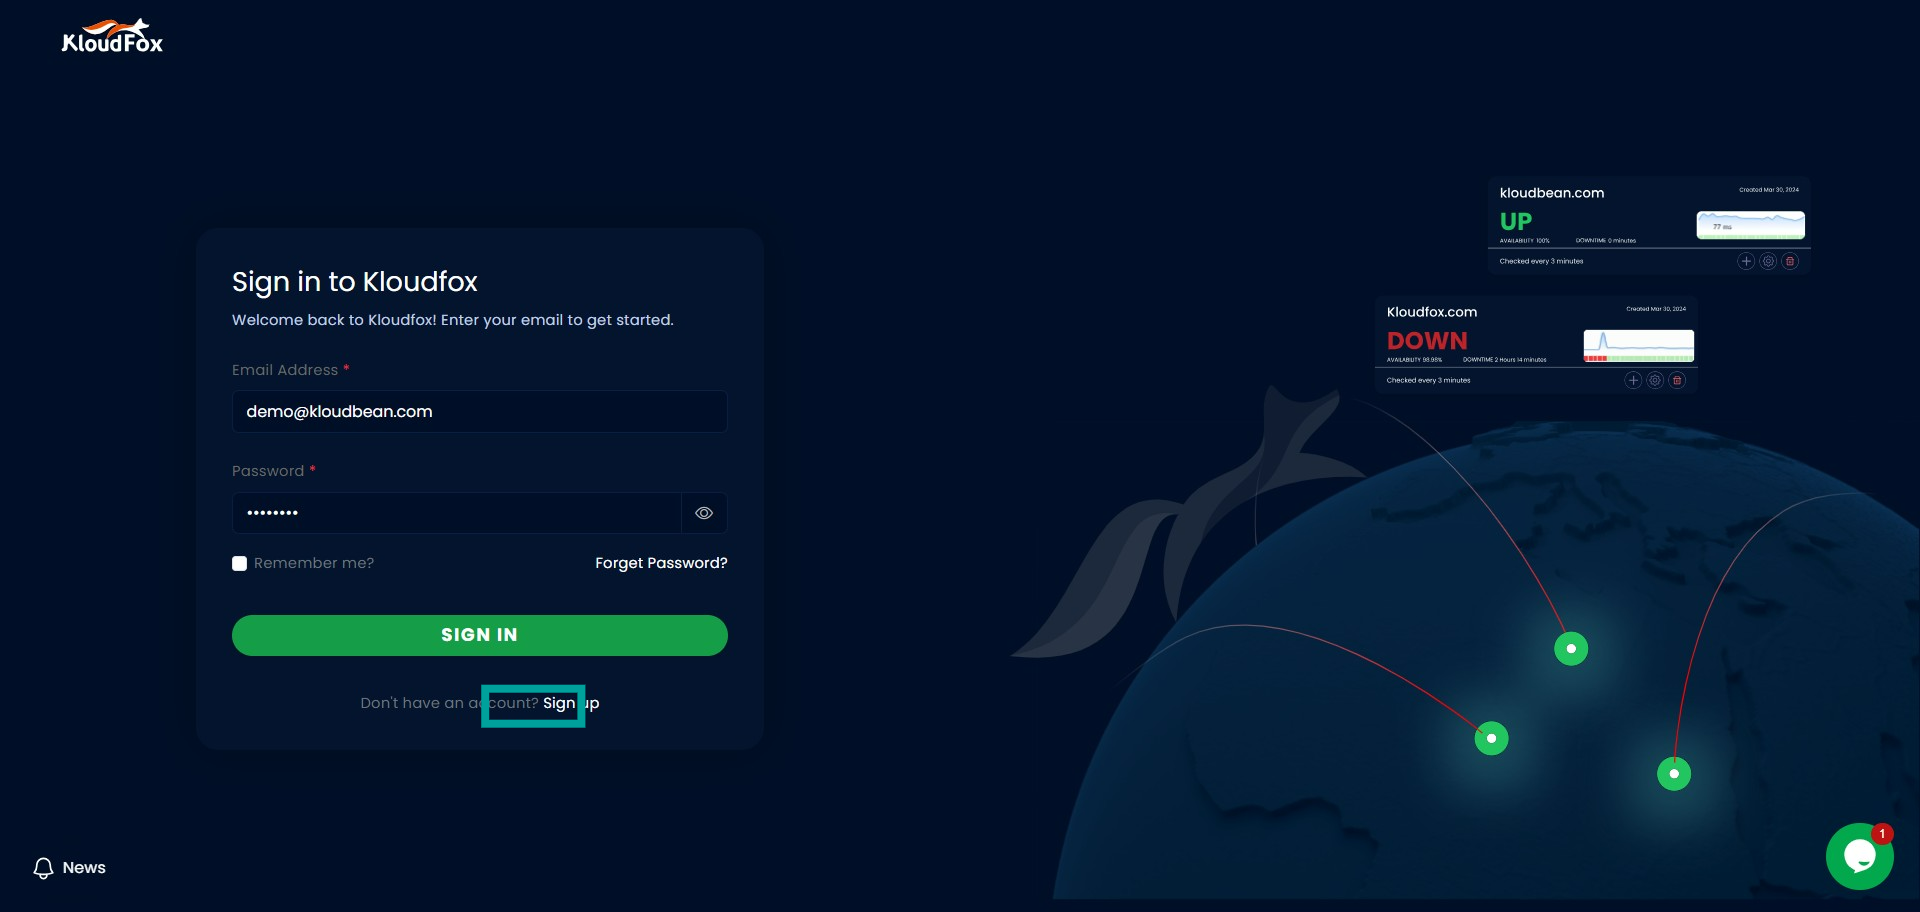
Step 1: Sign in to Kloudfox
Visit the Kloudfox website and sign in using your credentials. This step ensures you have the necessary permissions to create and manage monitors and status pages.
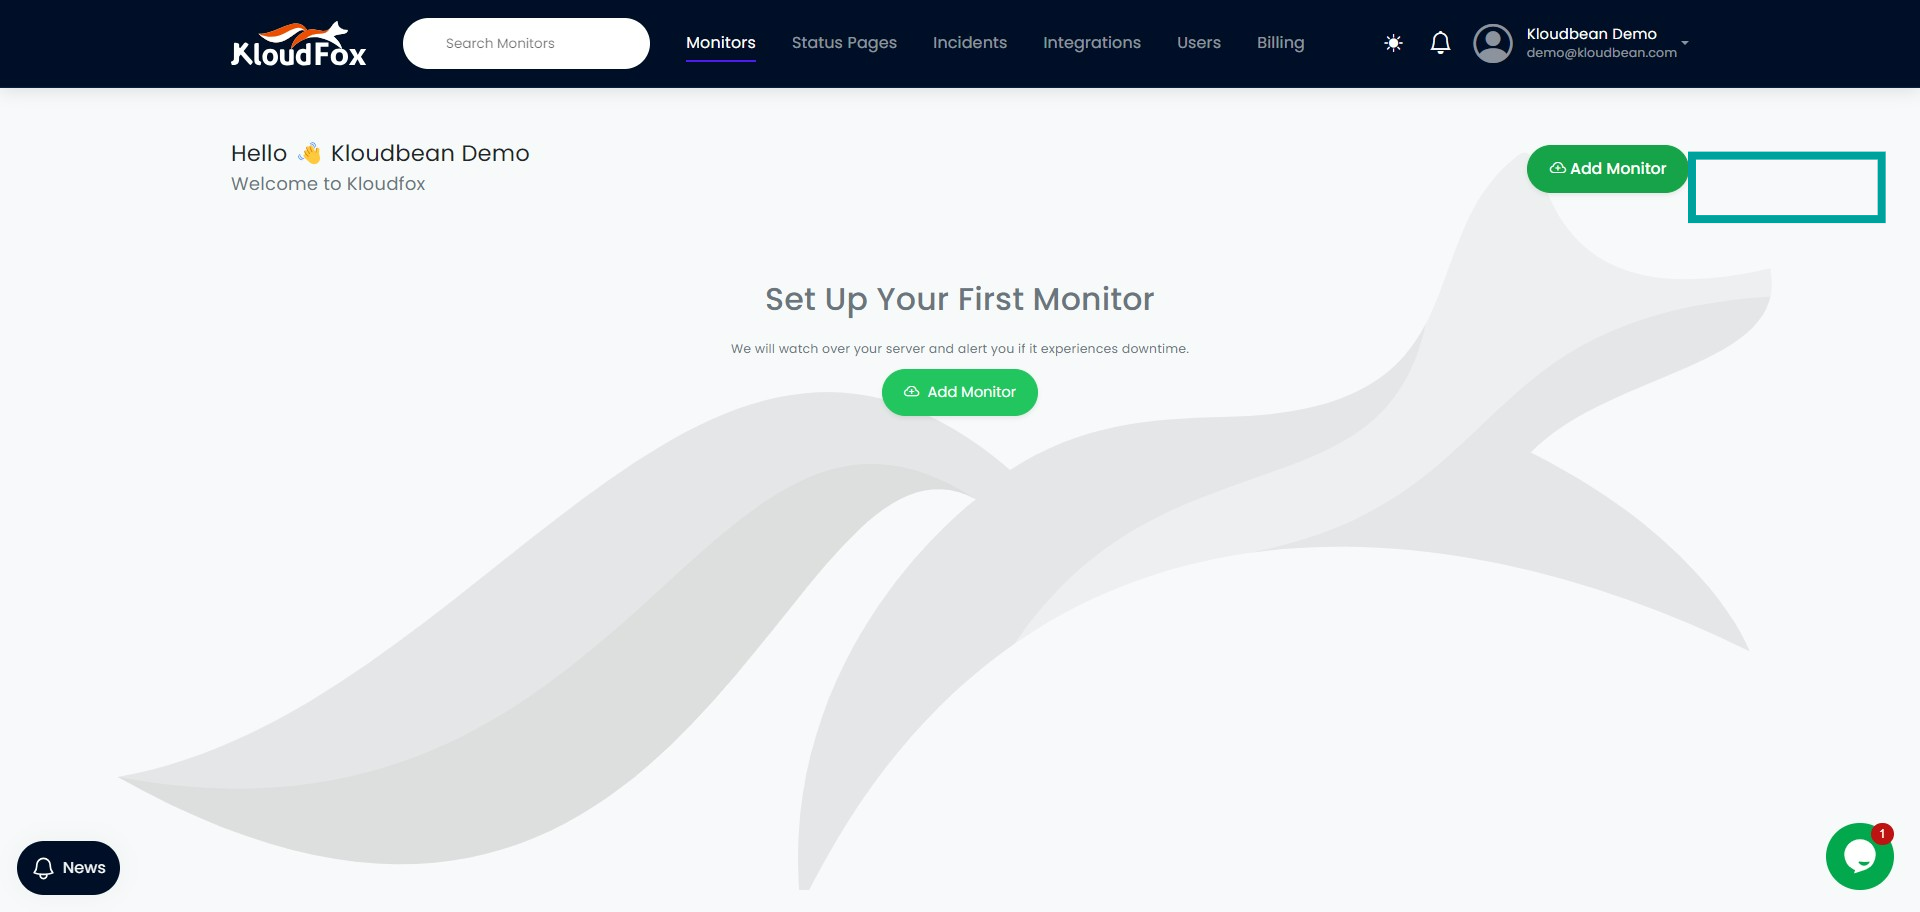
Step 2: Add a new monitor
Navigate to the 'Monitors' section in the dashboard and click 'Add New Monitor'. This will initiate the process of setting up a new monitor.
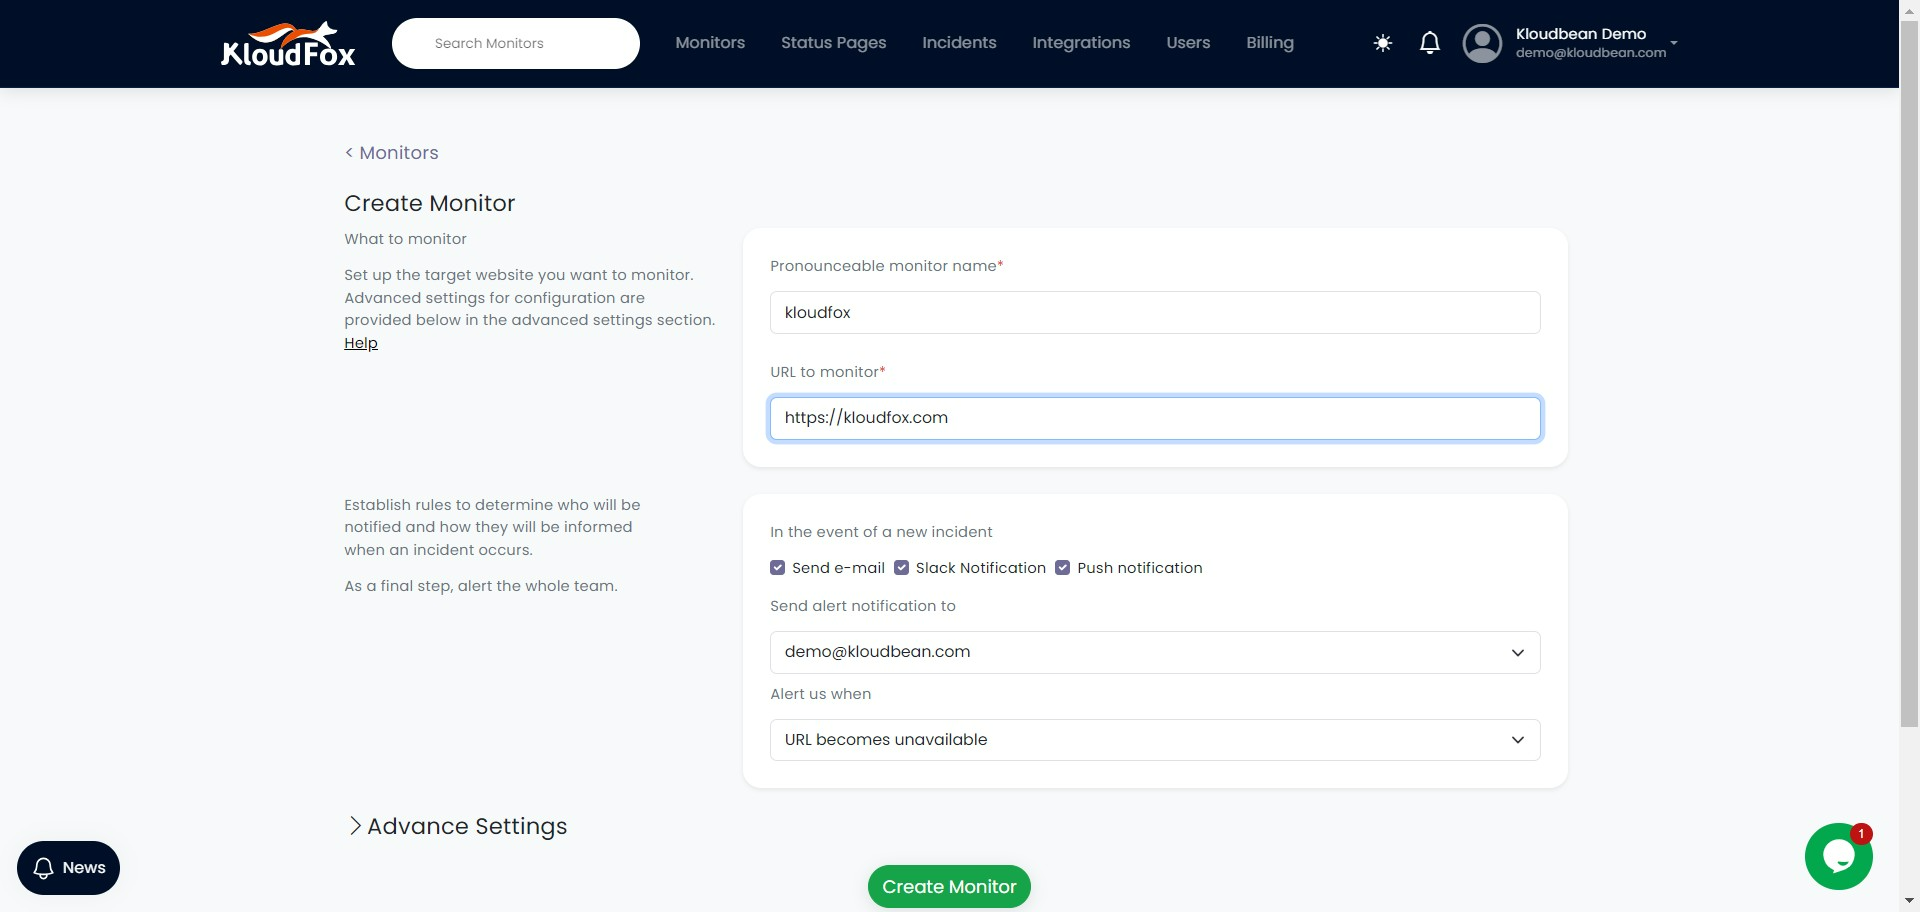
Step 3: Enter the monitor details
Fill in the required fields with the details of the service or website you want to monitor. Provide accurate information to ensure correct monitoring.
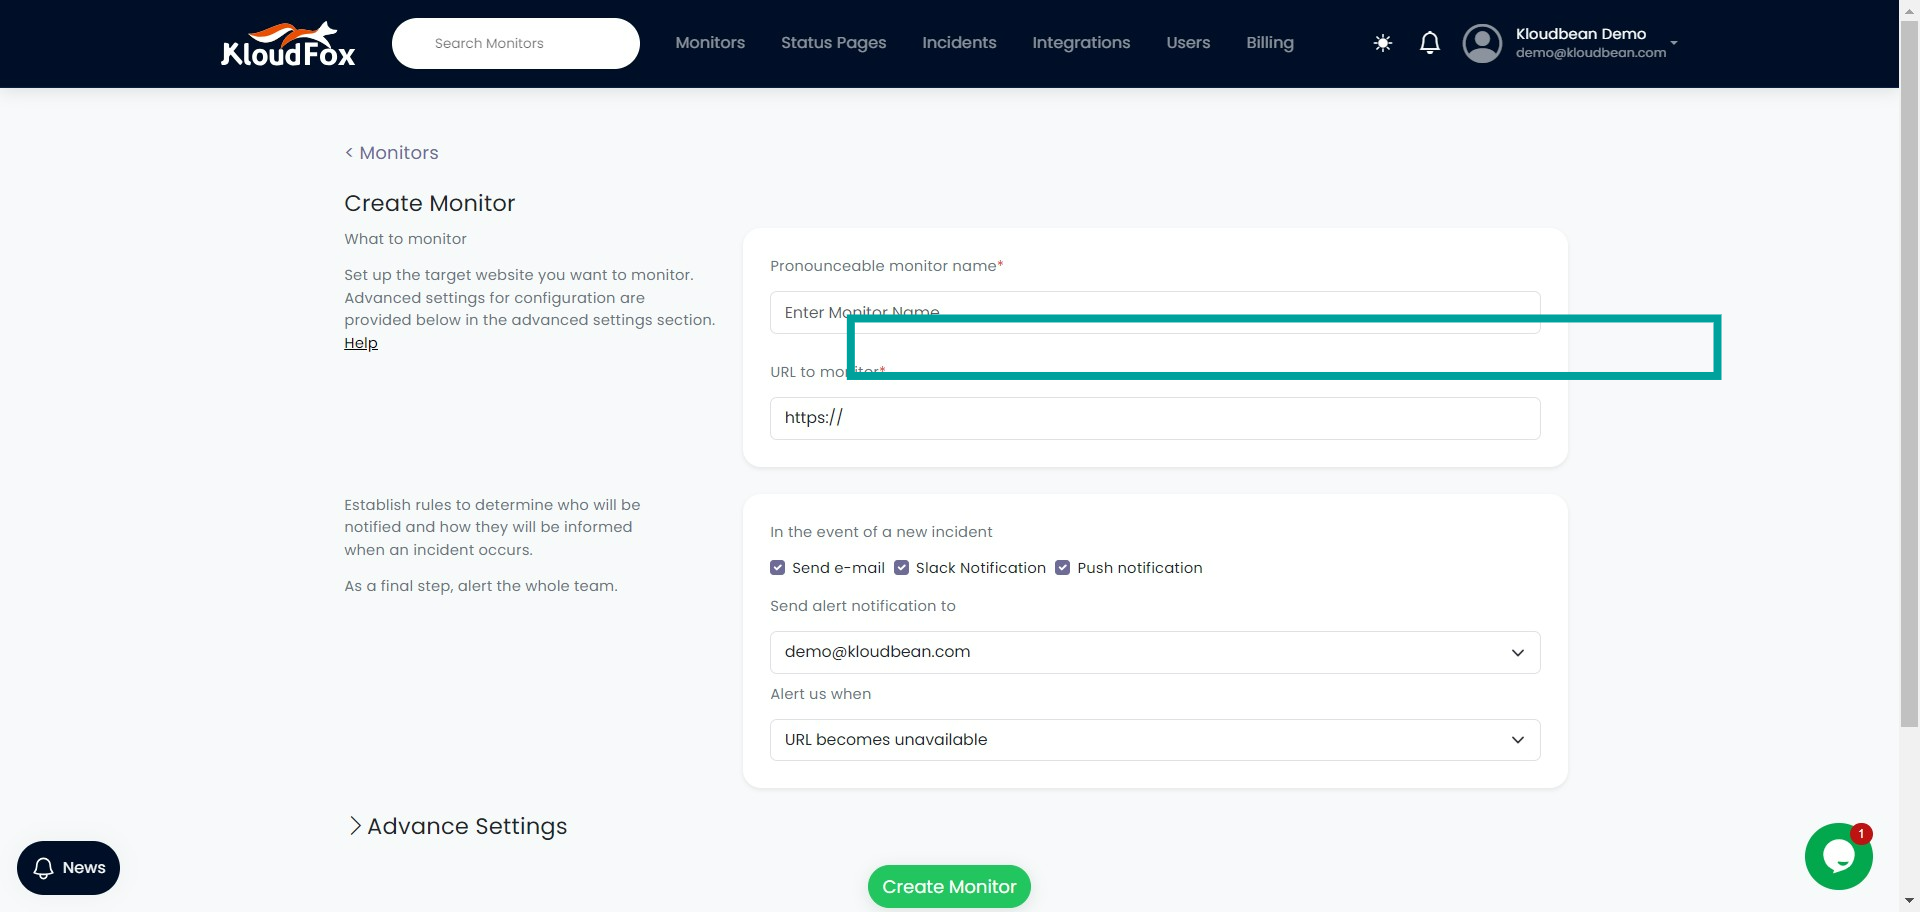
Step 4: Click Create Monitor button
After entering the necessary details, click the 'Create Monitor' button to save the new monitor. This action will finalize the creation of your monitor.
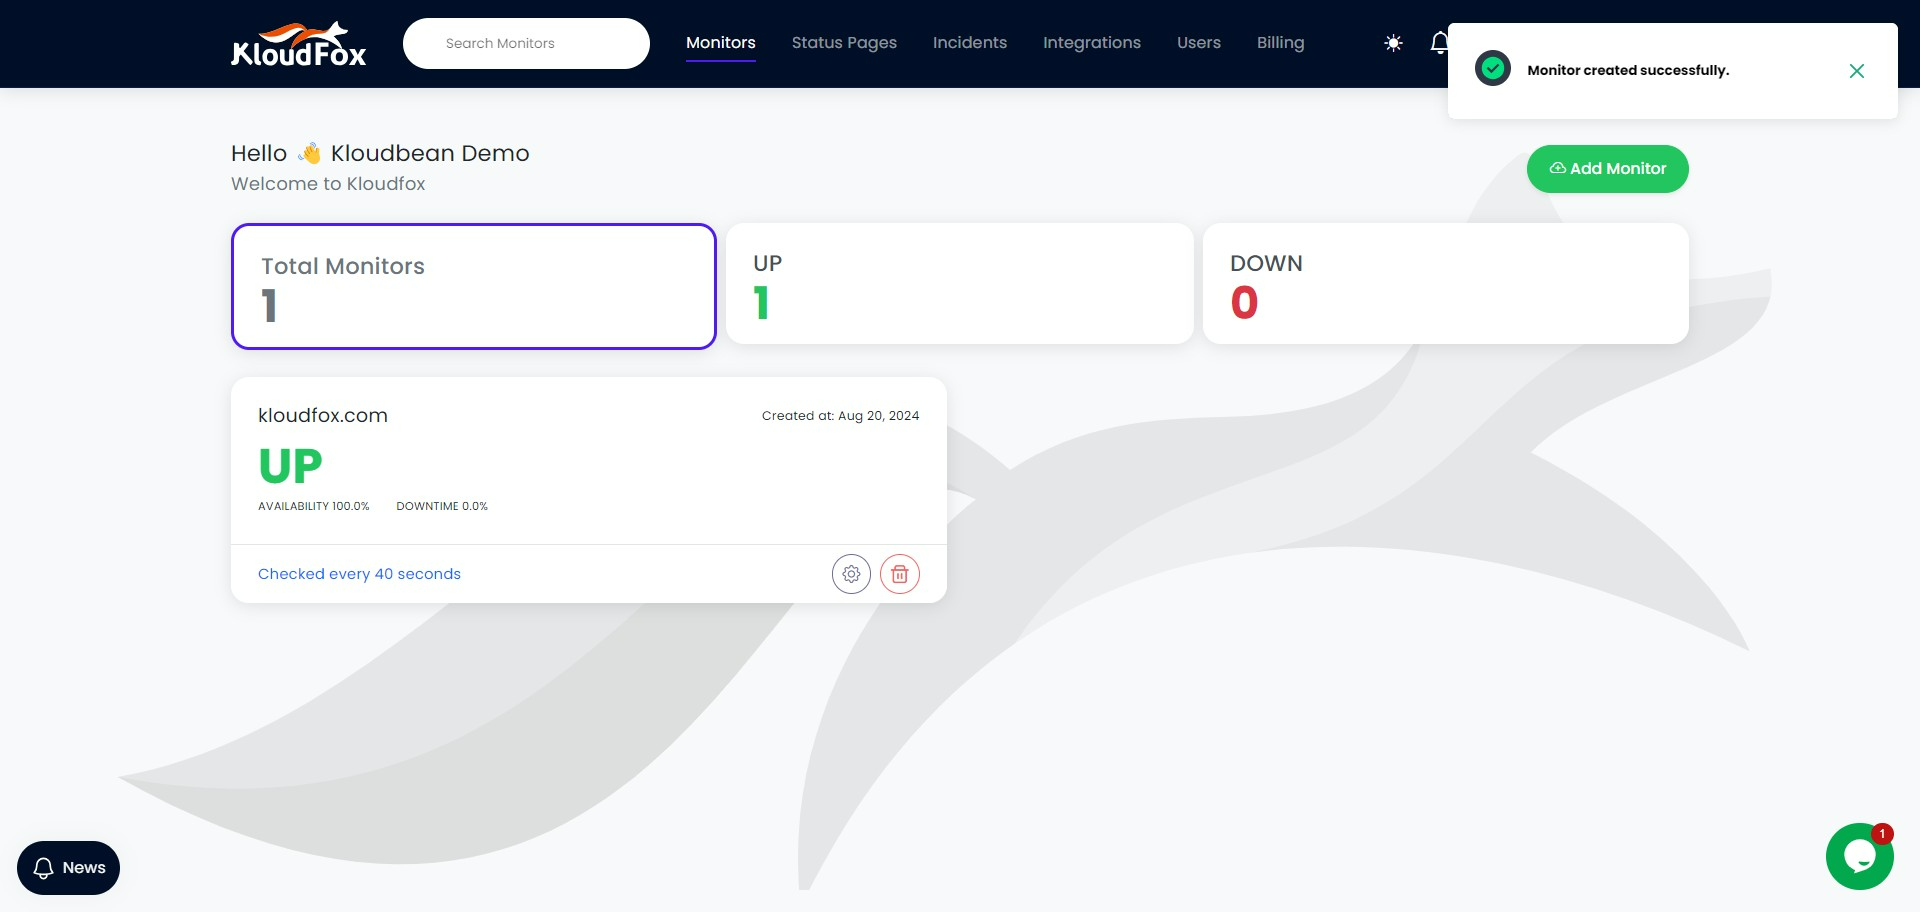
Step 5: Create the monitor
Confirm the creation of the monitor by reviewing the information you provided and ensuring everything is correct.
Step 6: Navigate to Status Pages
Go to the 'Status Pages' section in the Kloudfox dashboard. This is where you can manage and create new status pages.
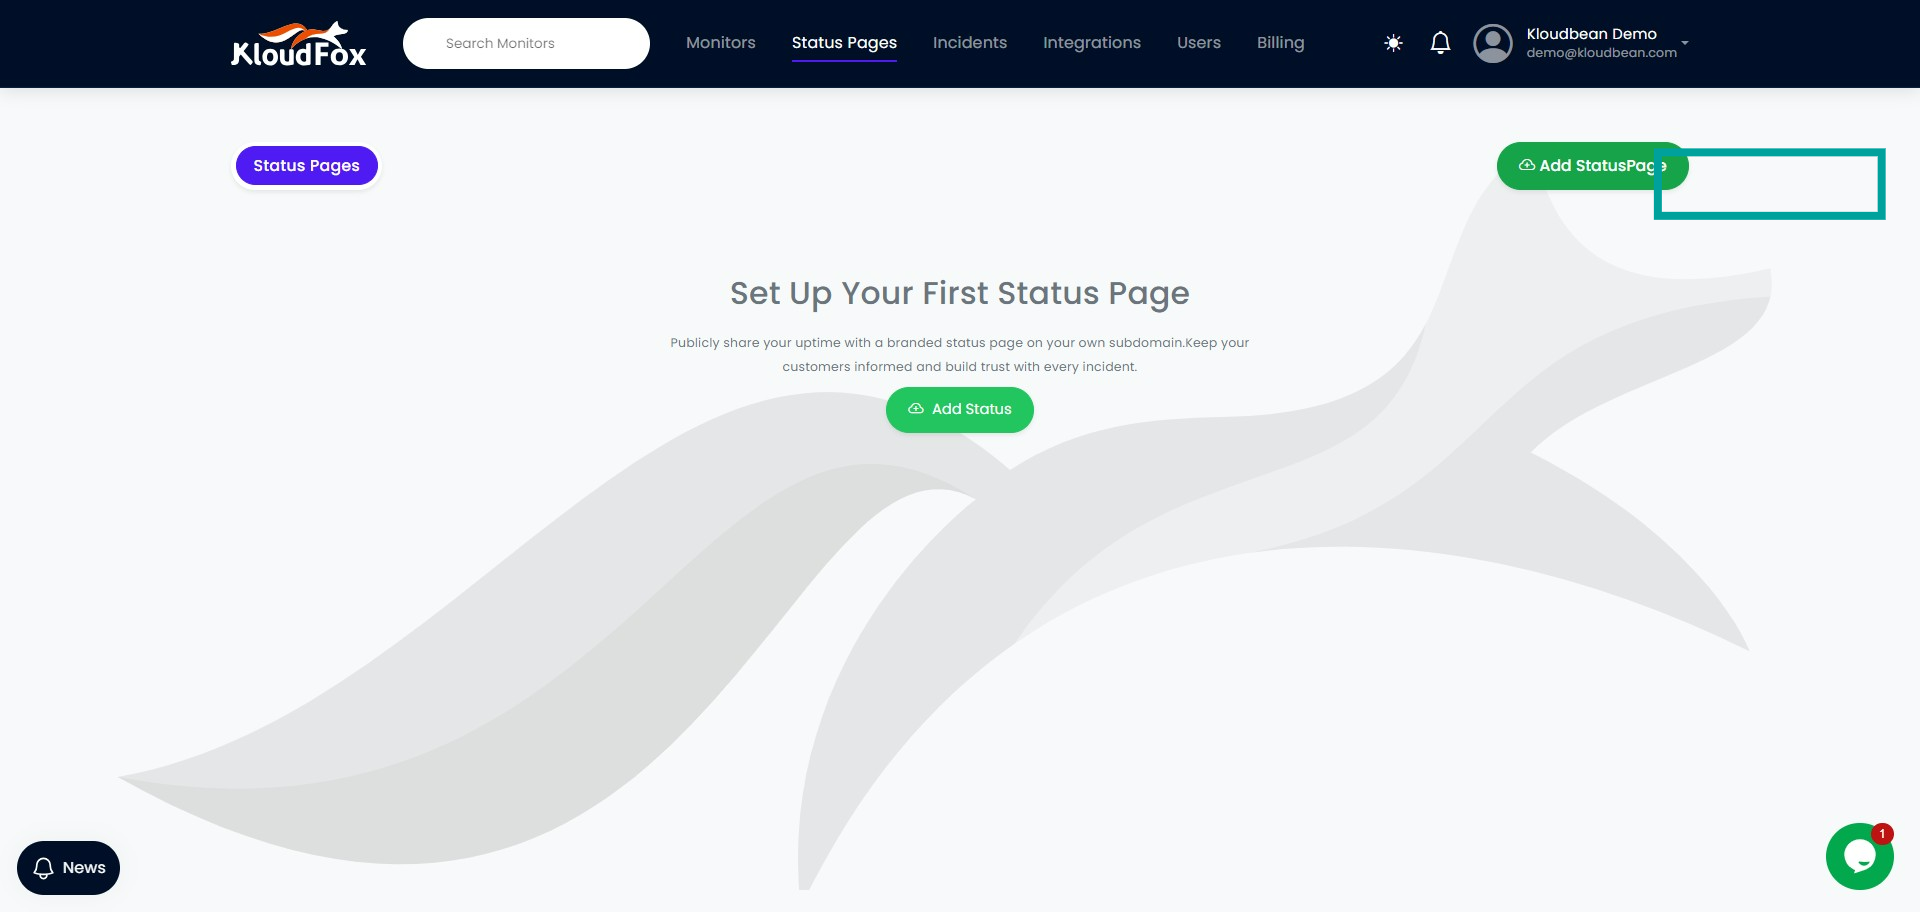
Step 7: Add a new status page.
Click on the 'Add New Status Page' button to start the process of creating a new status page for your monitors.
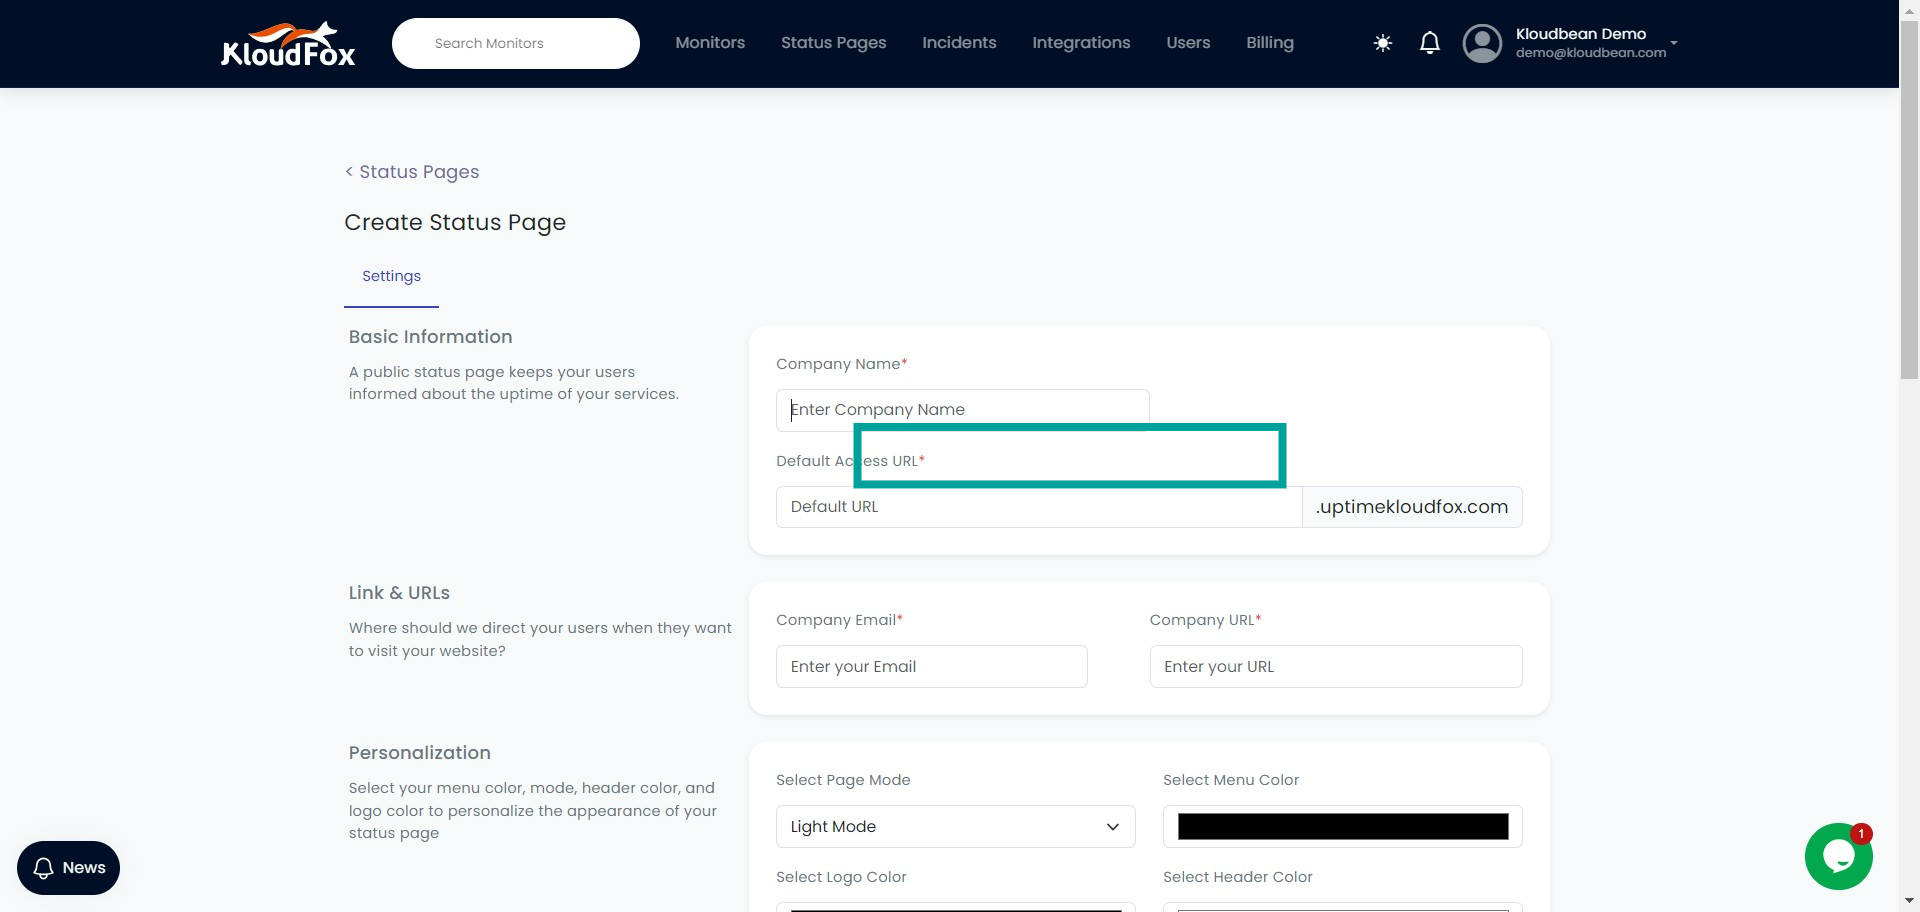
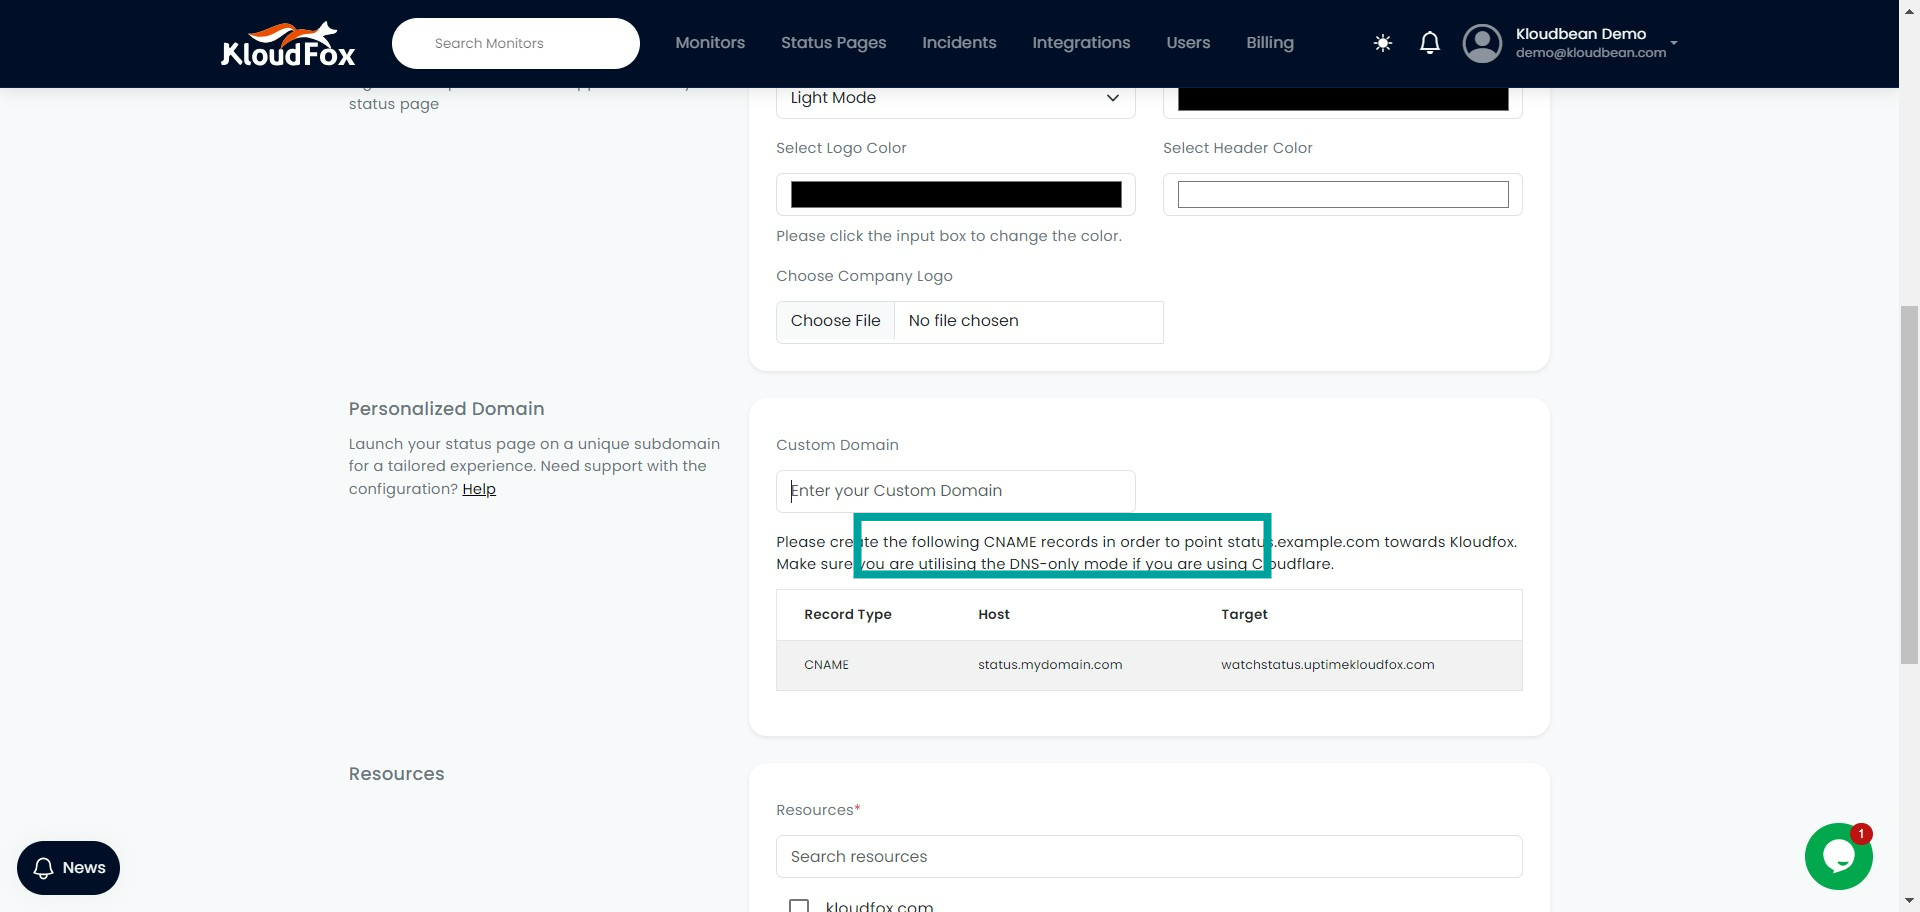
Step 8: Now that your custom domain and DNS entry are complete
Provide the custom subdomain you want to map, such as status.yourdomain.com. Then, add a DNS entry in your domain's DNS settings, which can be found in Cloudflare or your domain provider’s platform. You'll need to add a CNAME entry as shown on the screen, using your preferred name. Follow the instructions provided in the image below to complete the setup.